A lot of beginners ask “How do I create my watermark” Here’s how.
click on any of the images for the full size screen shot
In Photoshop create a new document, you’ll want something about the size of a 5×7, we won’t need that large, but it makes it easier to work with.
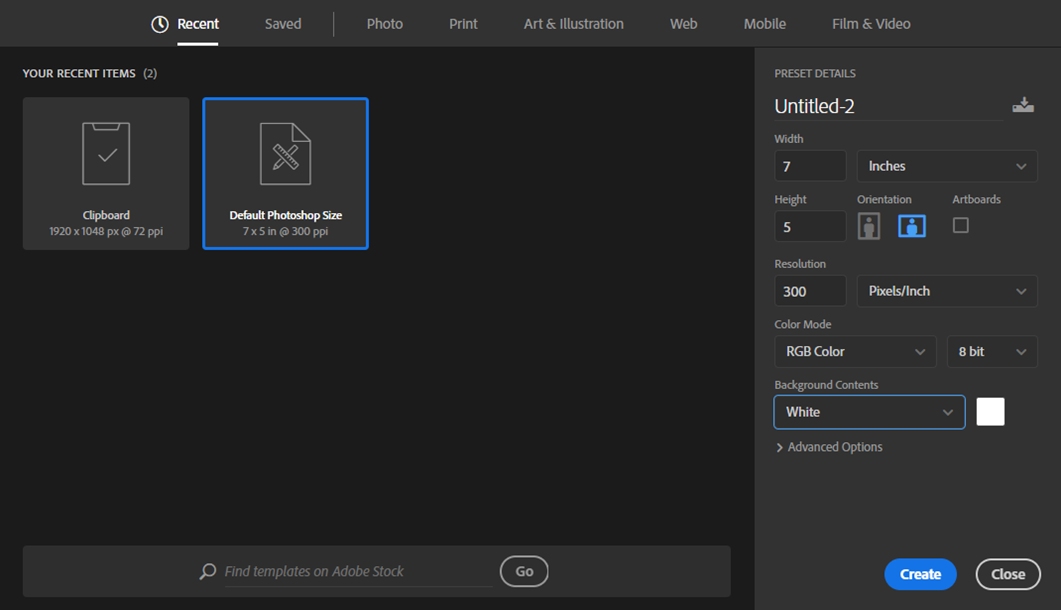
I recommend either making the background color something other than white. You can either make this change before creating your workspace, but I just draw a box over the entire work area once open, which lets me see the logo on white and another color (we will be hiding it later).
Choose the text tool from the left side toolbar
Click somewhere in the middle left of your work area and type what you want your text to be
Select the text you typed and change the font to something you like (I use Freestyle script – https://www.dafontfree.net/freefonts-freestyle-script-f64813.htm)
You want to make it a size that is large enough to almost fill the work area.
Double click the text layer on the right to open the layer style popup.
The following is how I do my outline watermark, your choices will vary
In the blending options section, advanced blending, change opacity to 0% (when you do this, your text will look like it disappears, nothing to be afraid of, the next step fixes that)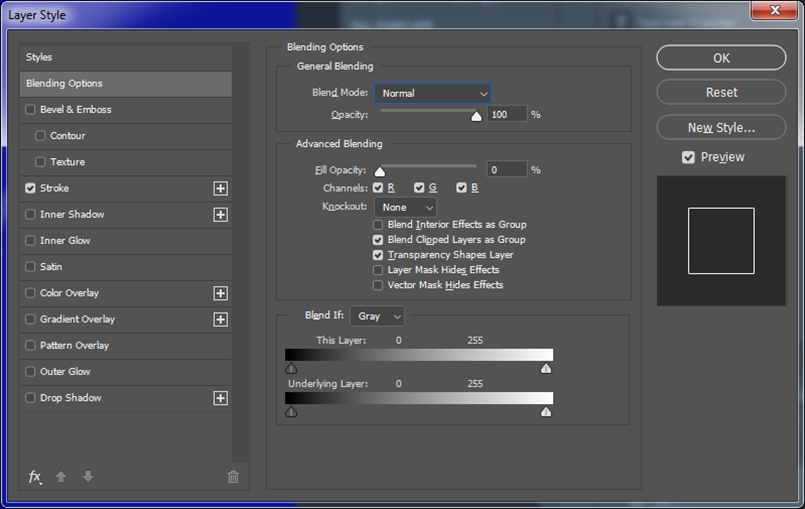
in stroke: size is 3, position is outside and then choose a color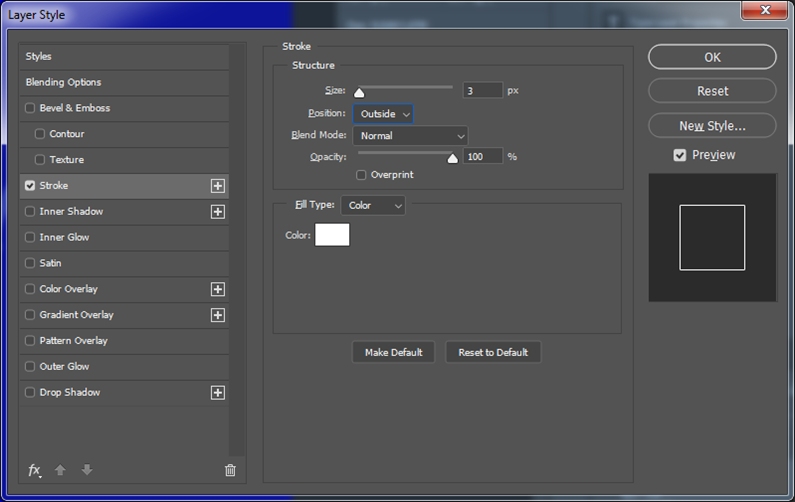
In Outer Glow opacity is about 50-70%, color is black, technique is precise, 0% spread, 6-15px size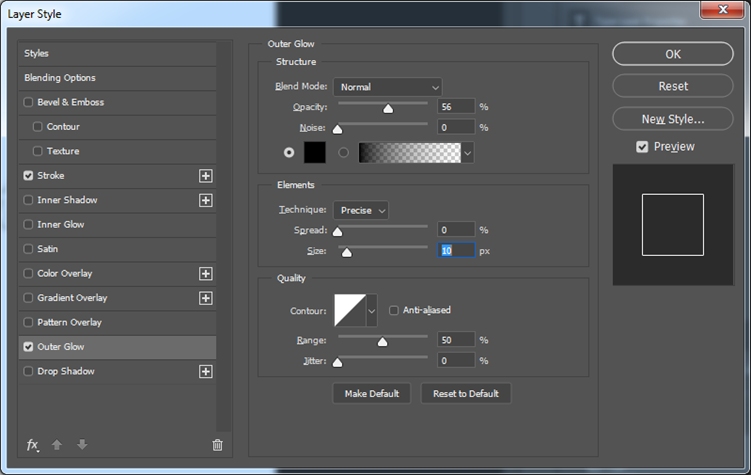
So this is what we have so far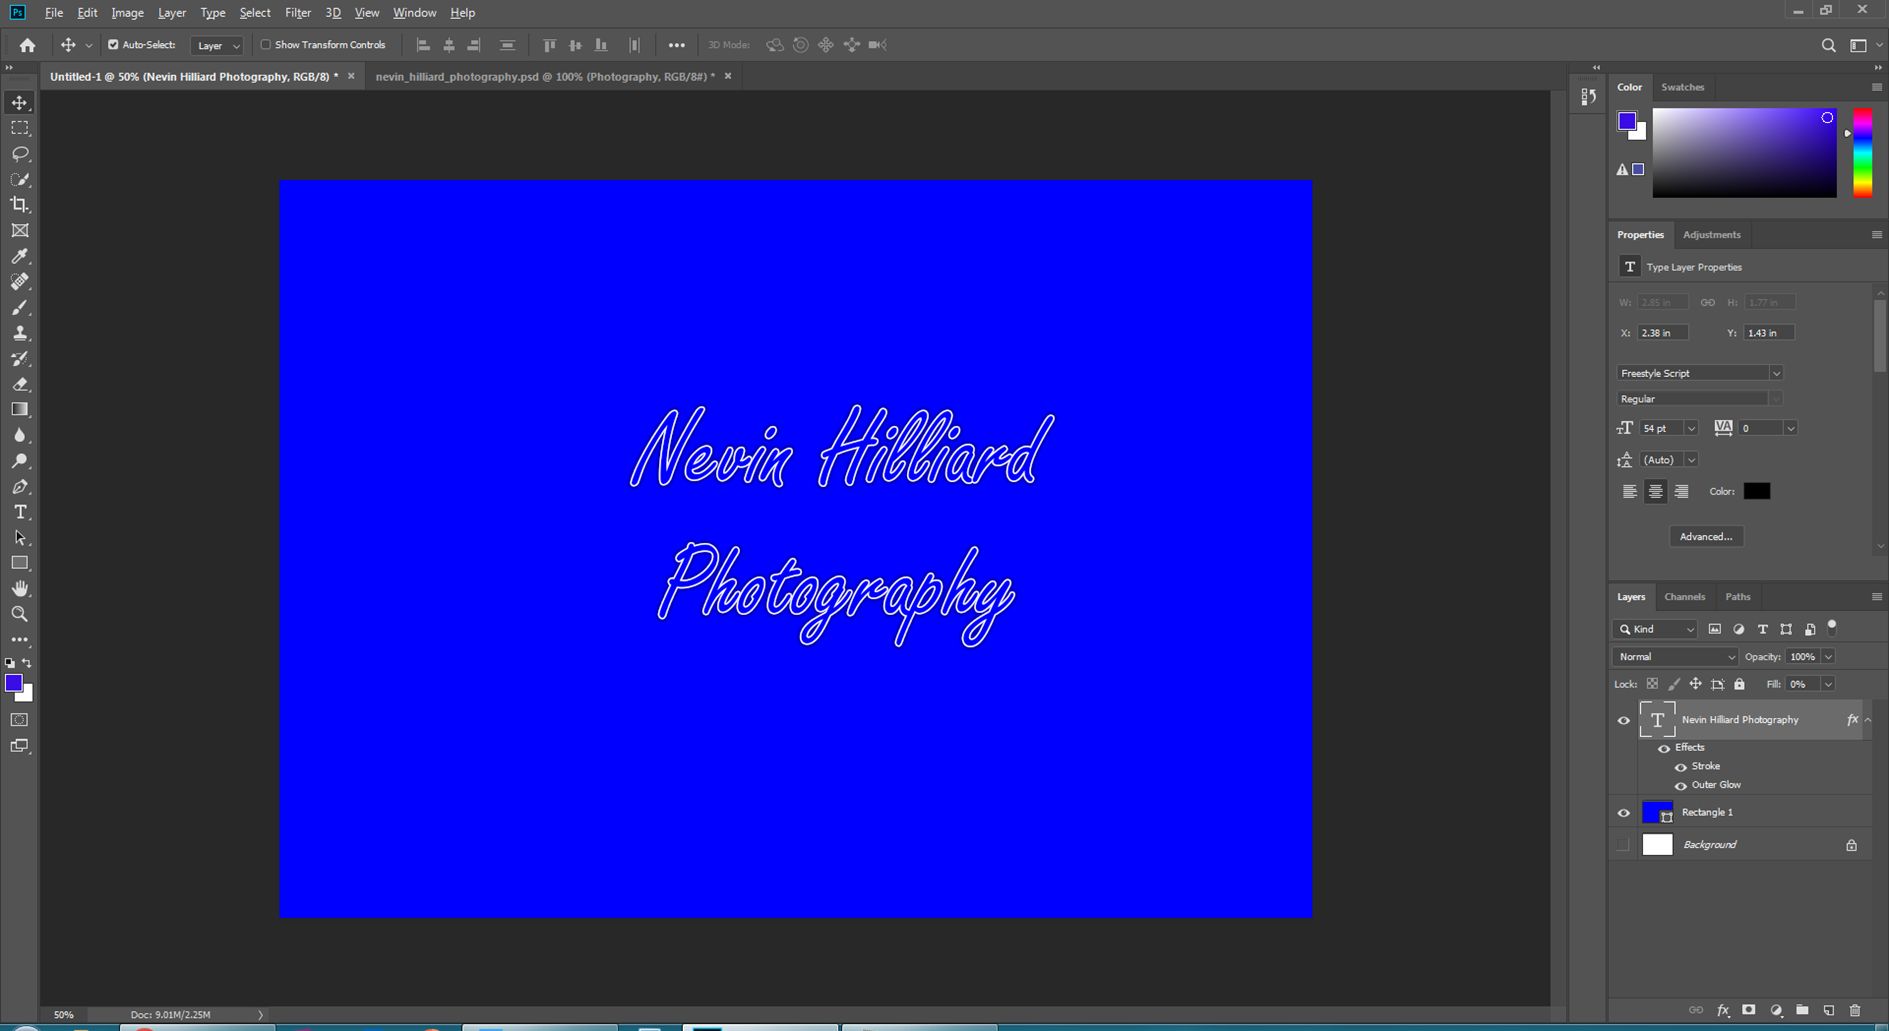
Notice the distance between the first and second line, my easy fix, now that I have my text where I want it is to simply duplicate that text layer with all the style changes and then delete the text I don’t want so each line is its own text layer, then I can move and arrange them as I want.
Next step is we want to take the crop tool and draw a crop somewhat close to the logo, remember you have an outer glow so you cannot be too close. Once selected click that checkmark at the top and it will crop.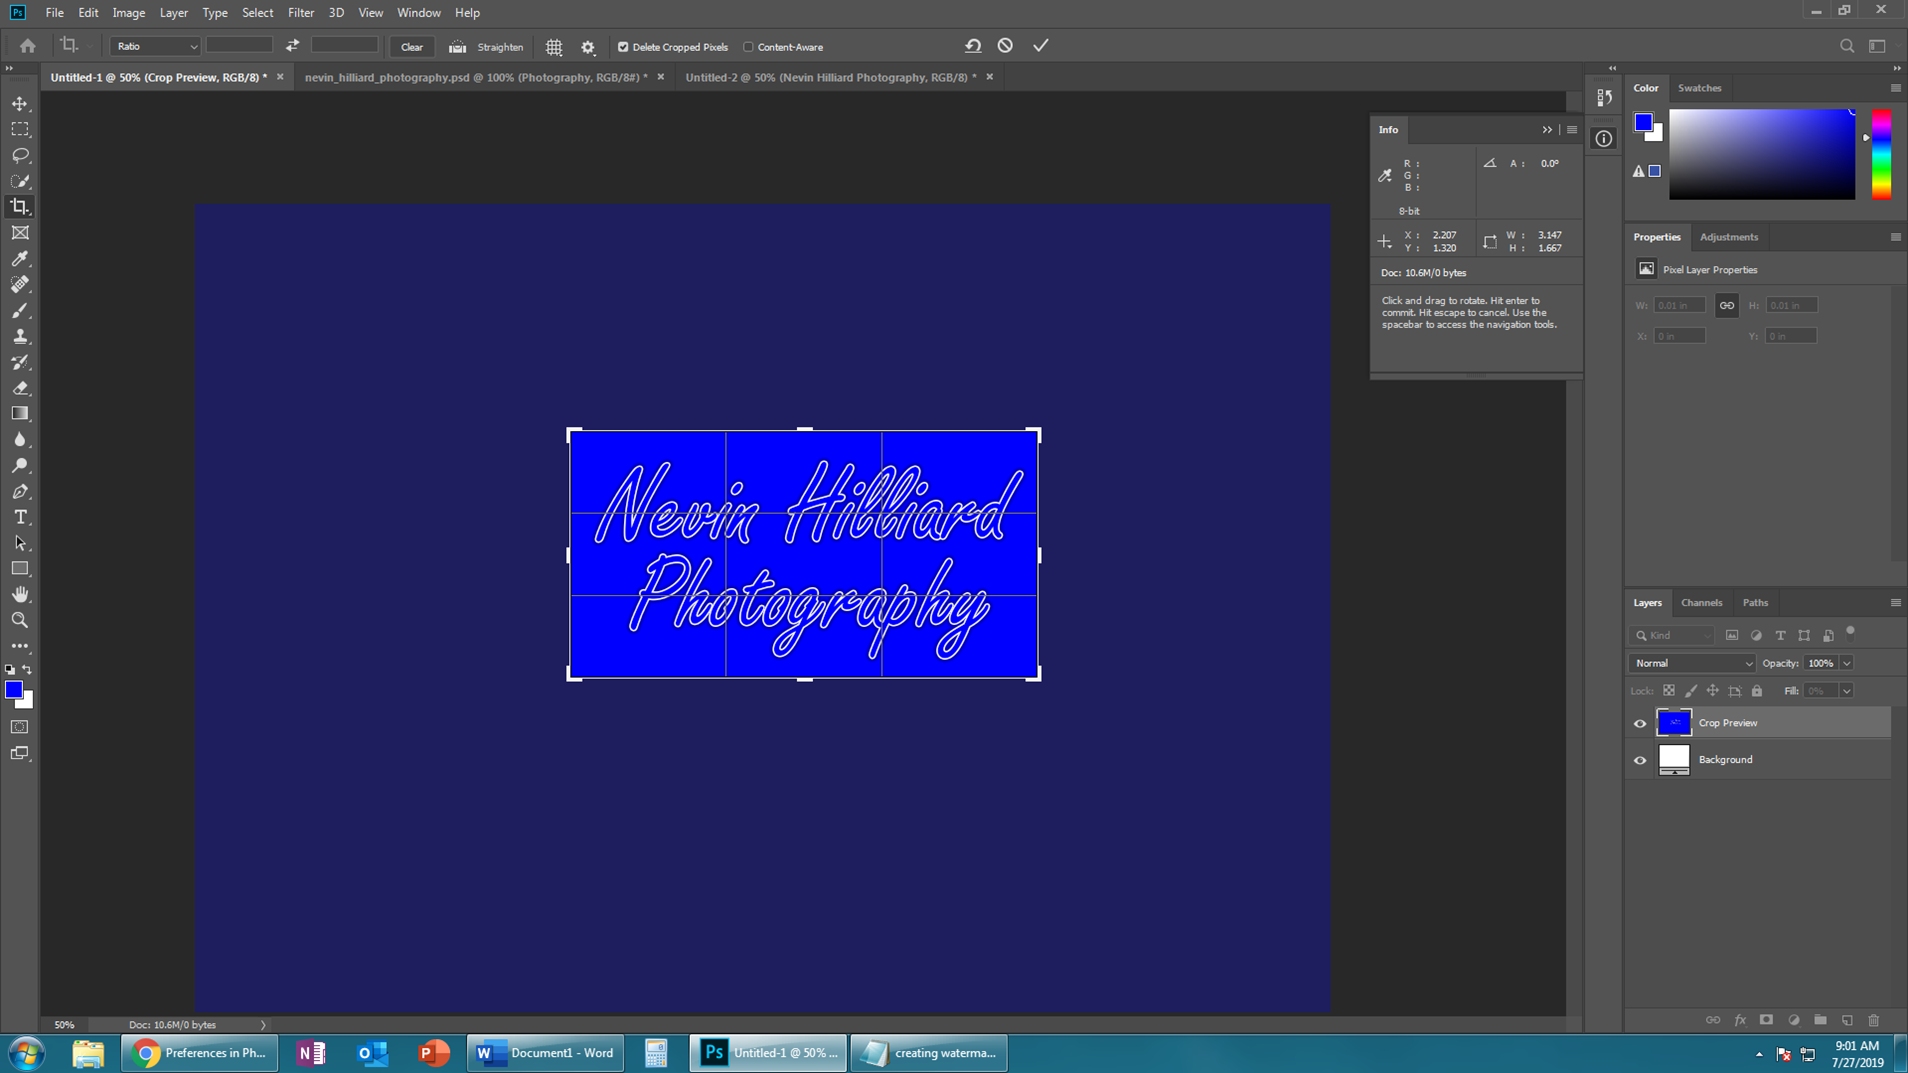
Now turn off and unneeded layers and you should be left like this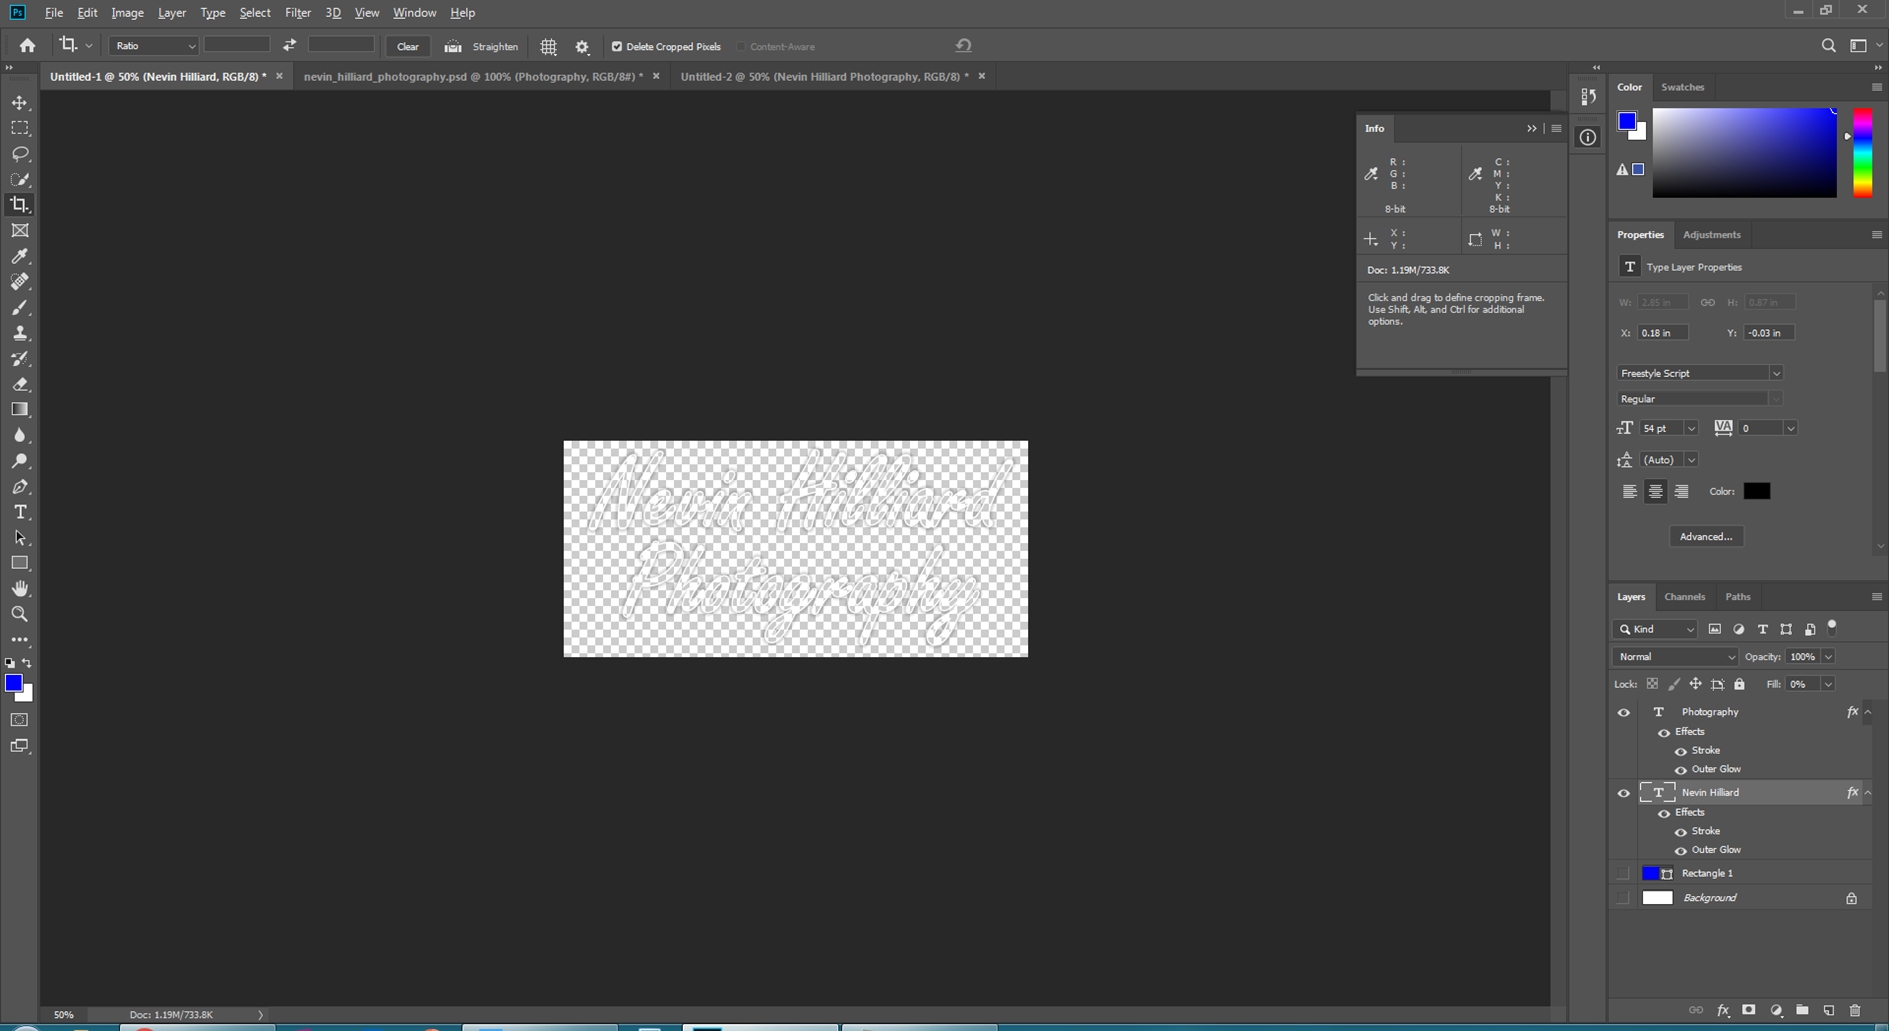
Click file and hover over export and choose Export As
This box pops up: make sure it is a PNG and transparent then click Export ALL.
A save as dialogue box pops up, remember where you saved this at.
**save your photoshop file**
That is how you create a watermark simply with text. The process is the same for no matter what you want to lay on your photo, as long as the background is transparent you are good.
I will create a file on how to apply the exported watermark in Lightroom soon